

French cheese mooncakes
Start this year's mooncake season with this cute French cheese mooncake. The recipe can be made into about 12 pieces

Ingredients
Cooking Instructions
-
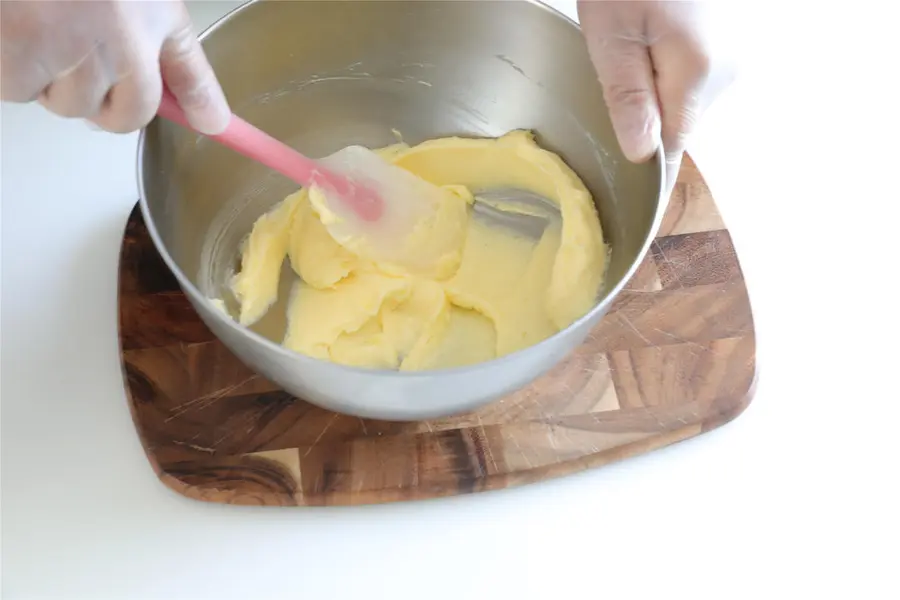
Cut the butter into cubes #饼皮制作
and soften it to the point that you can press it out with your fingers, and you can put it at room temperature to soften it this season, and you can put it in the fermentation box to soften it when the room temperature is low.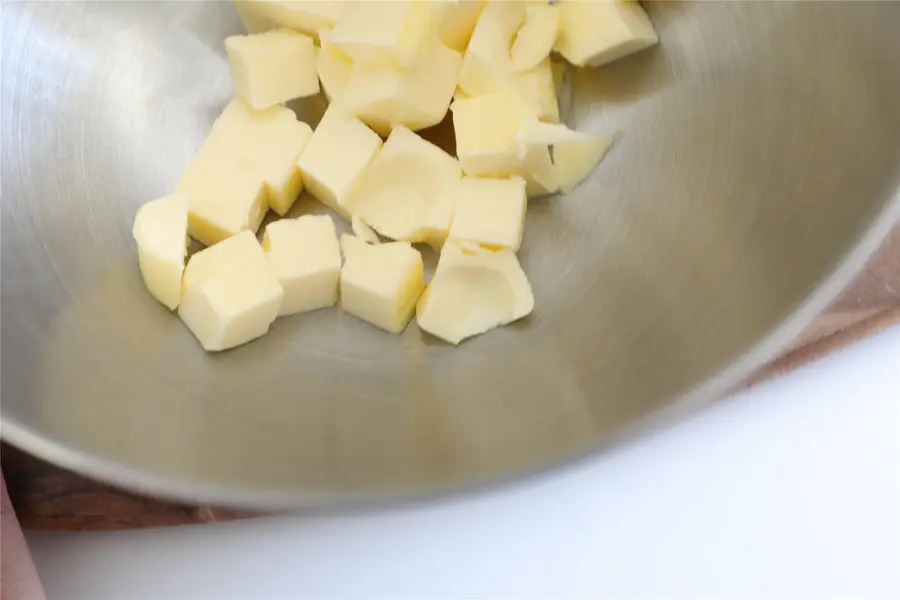
-
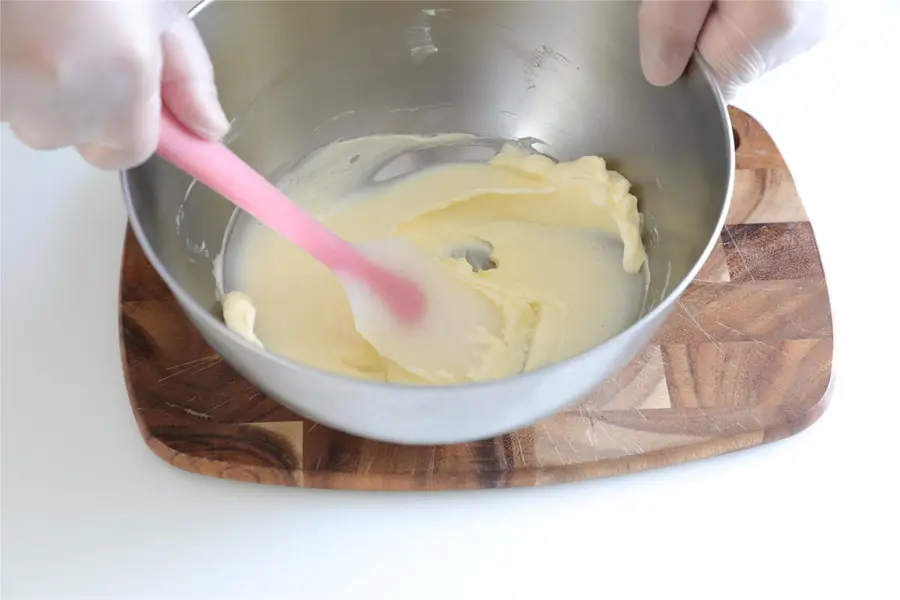
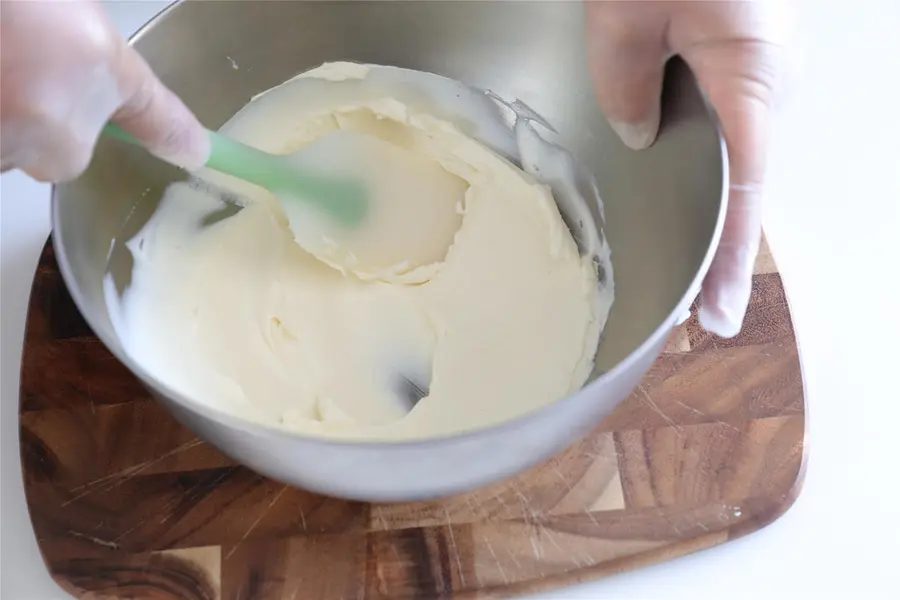
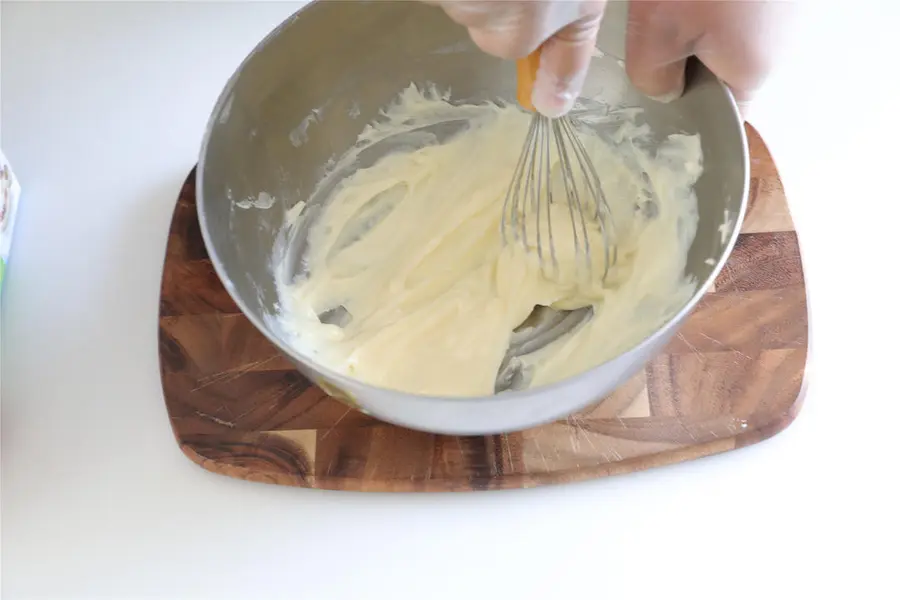
Mix evenly with a scraper repeatedly to make it soft and hard uniform.
-
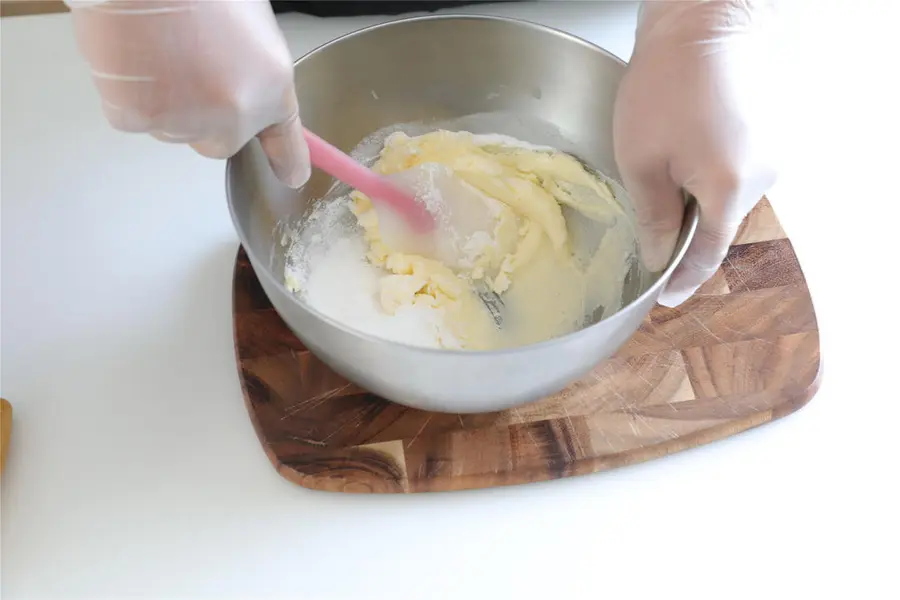
Add powdered sugar and a pinch of salt and mix well with a spatula
-
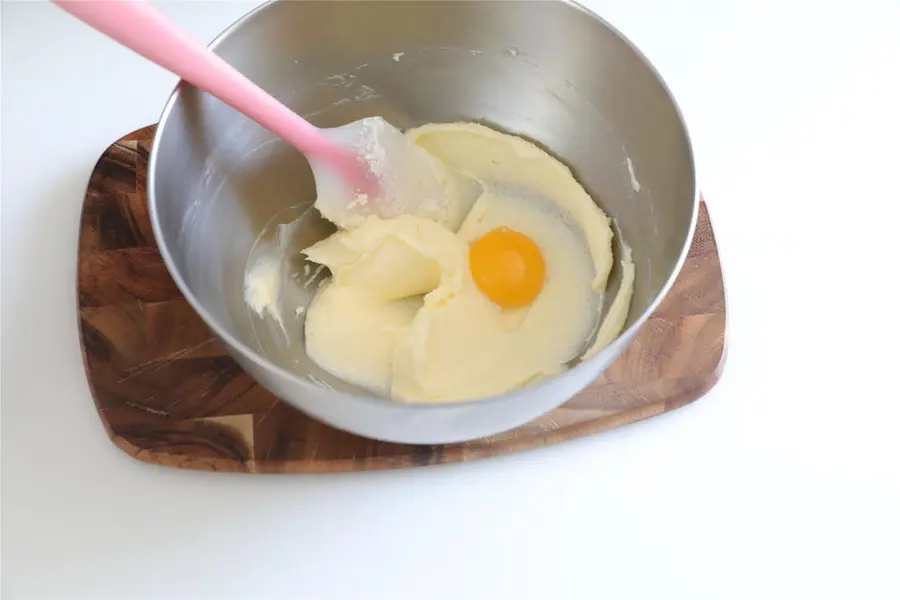
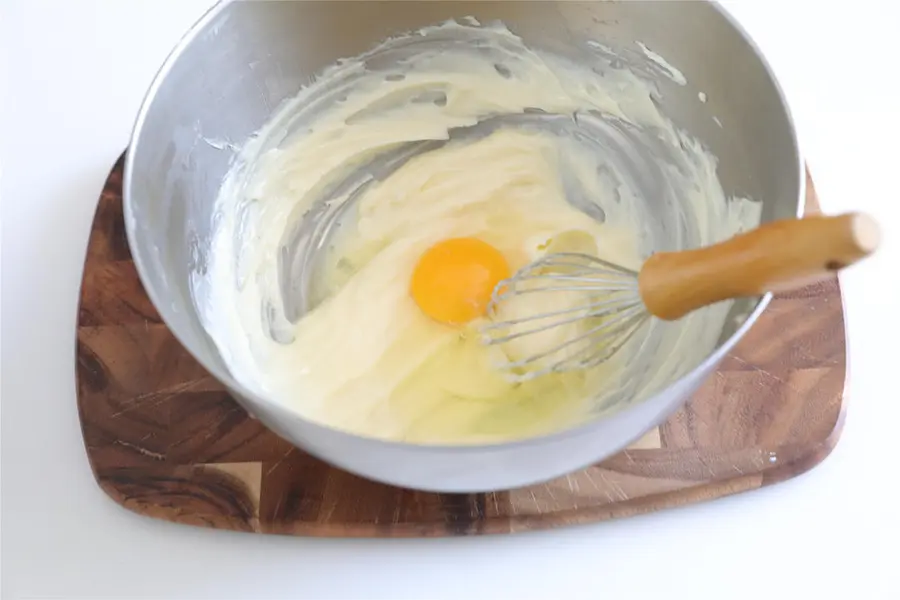
Add the egg yolk, because the room temperature is high, I used the refrigerated egg yolk here.
-
Continue to mix well with a spatula
-
Continue to mix well with a spatula
-
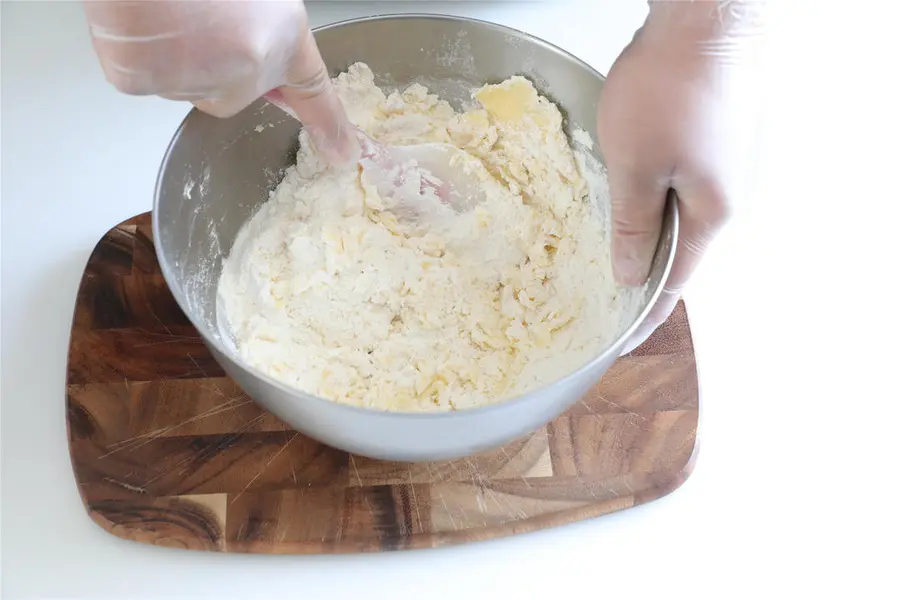
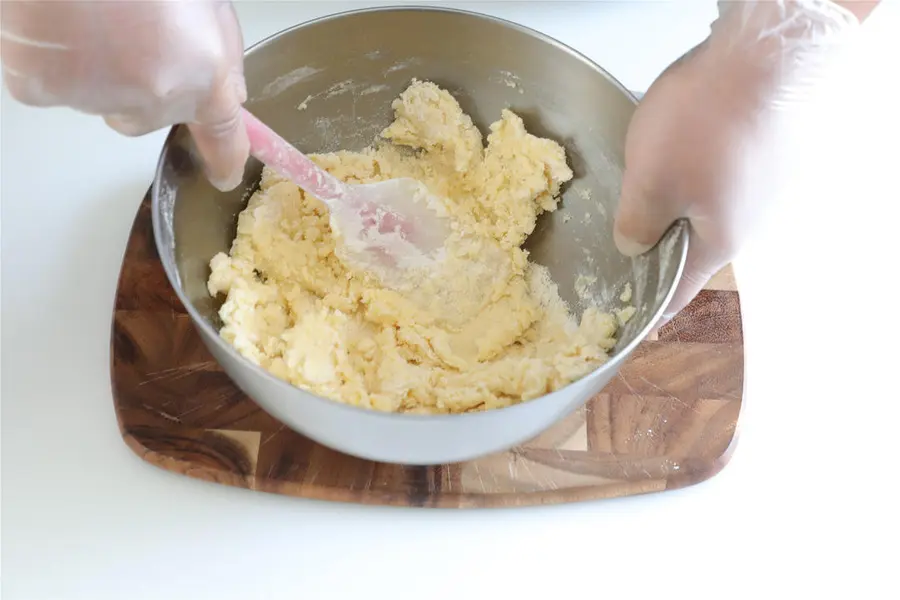
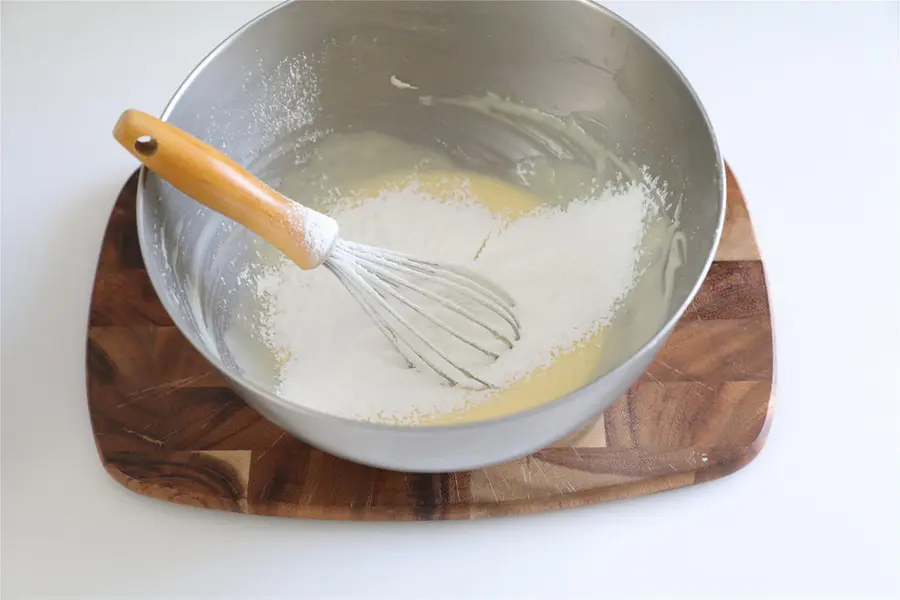
until there is no dry powder in the clump state
-
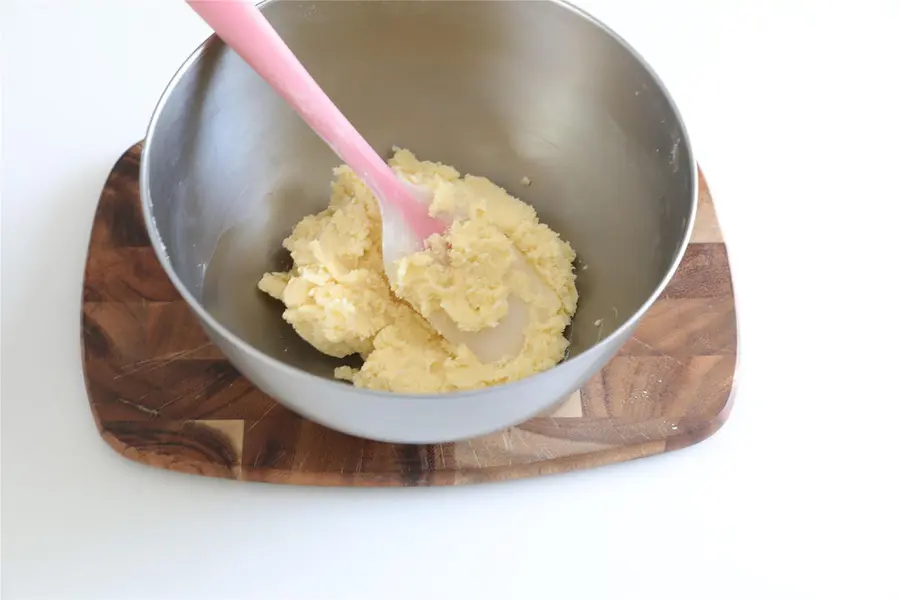
Scrape the sides of the basin clean
-
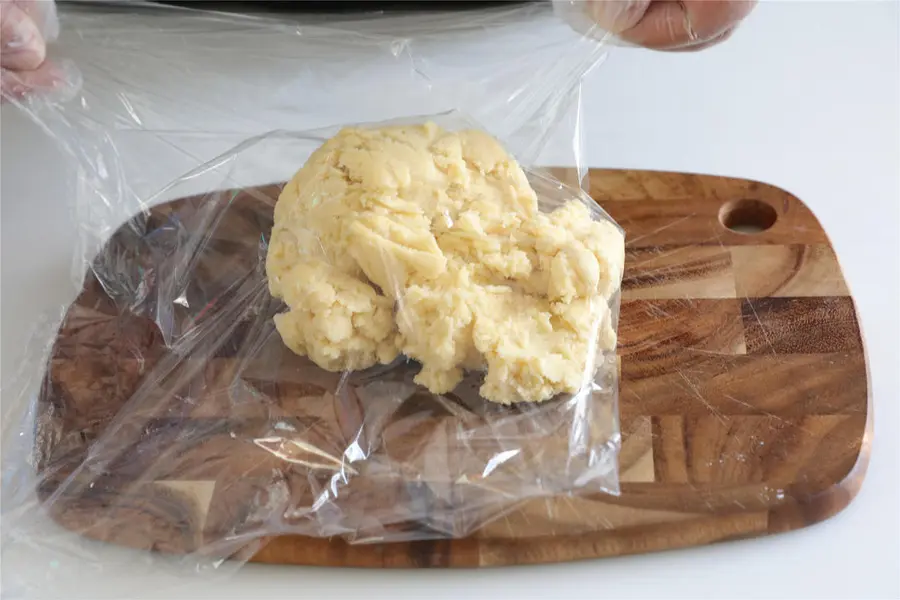
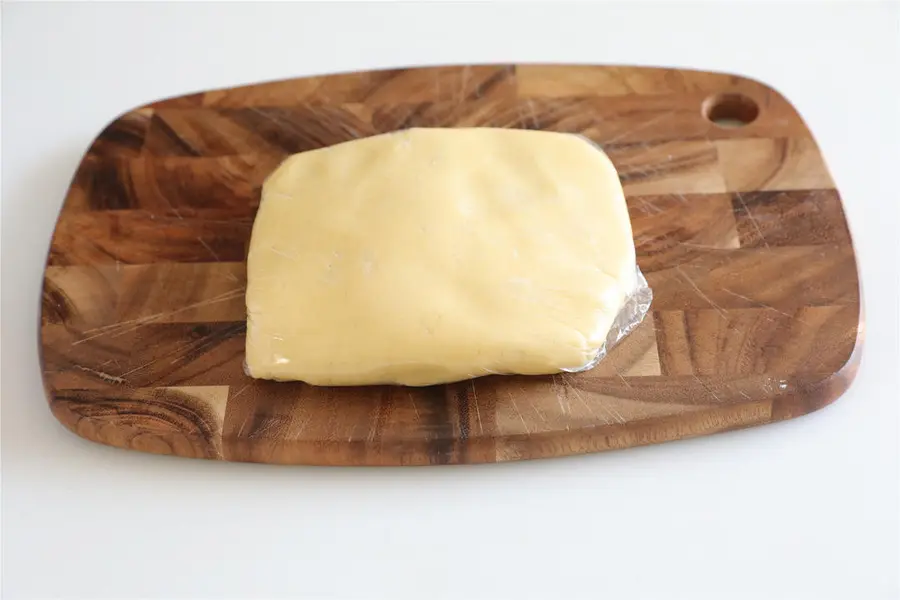
The dough is wrapped in plastic wrap,
-
Refrigerate for about 1 hour
-
#乳酪馅制作
Kiri cream cheese is weighed and softened for later use.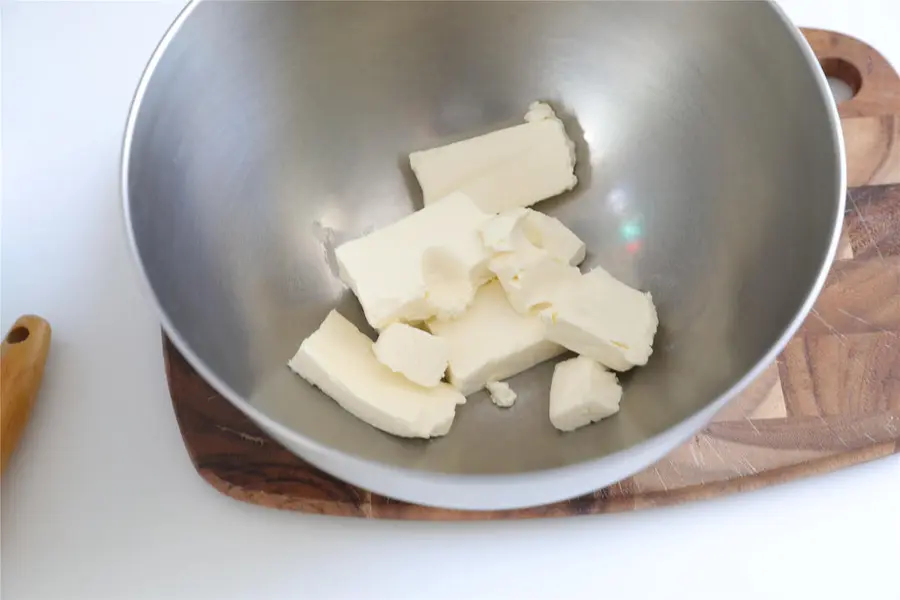
-
Mix well with a spatula.
-
Add powdered sugar and blend with a manual whisk until smooth
-
Add the whole egg mixture and stir to combine
-
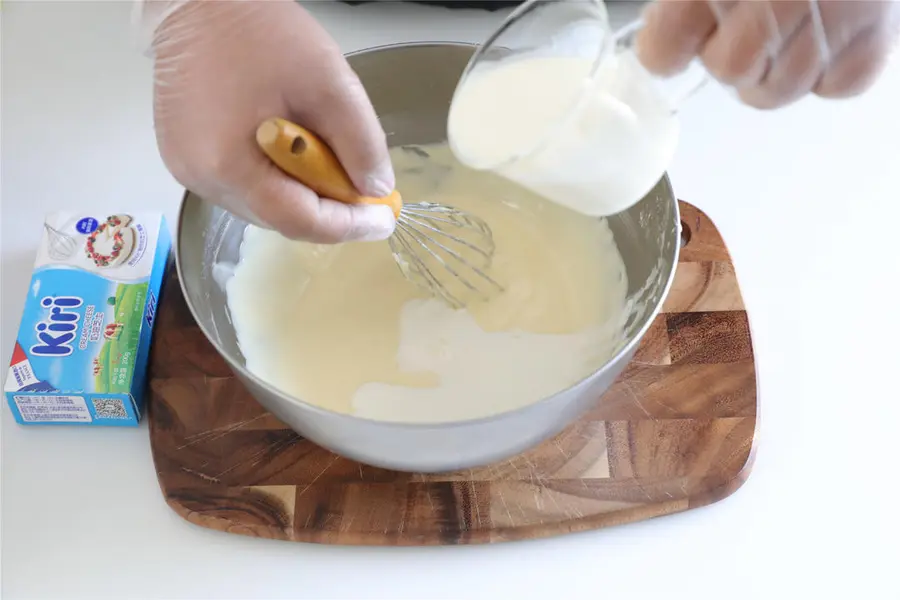
Add the starch and milk powder and stir well
-
Finally, pour in the milk and stir well with a manual whisk
-
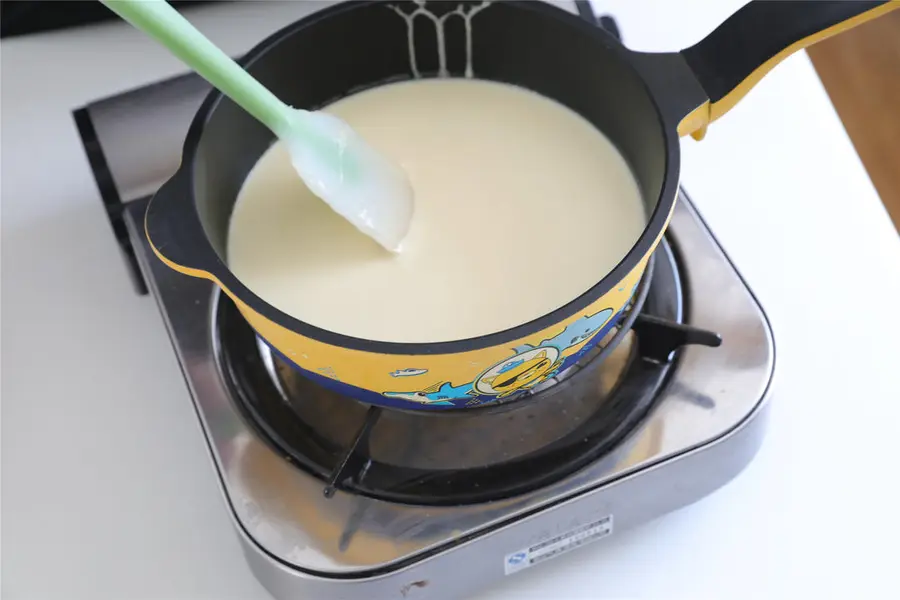
Stir the cheese paste through a sieve, pour it into a non-stick pan and stir-fry over medium-low heat.
-
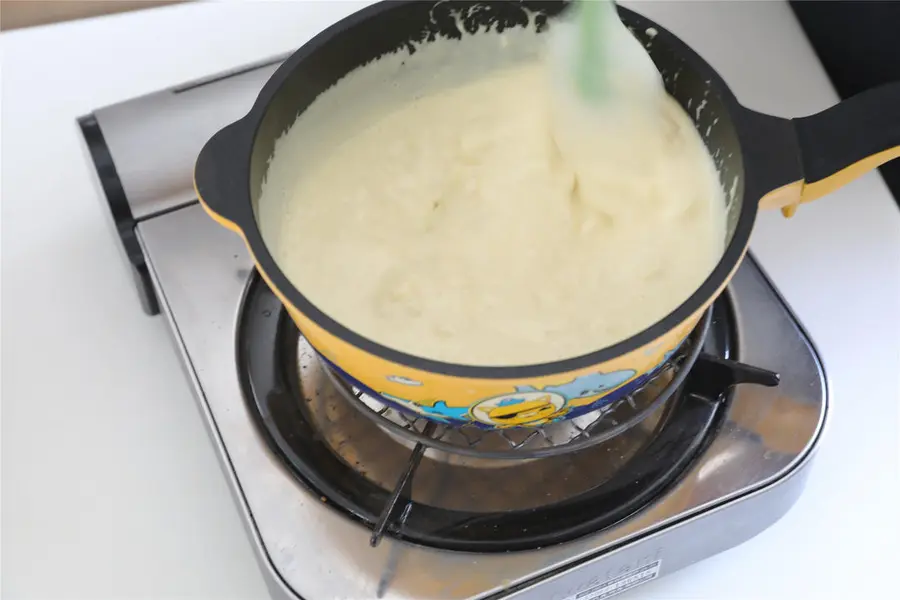
At the beginning, you can turn on the medium heat for a while, and when the cheese paste slowly gelatinizes from the liquid state and the bottom begins to solidify, turn to low heat, and keep stirring to avoid repeated heating of the bottom of the pot
-
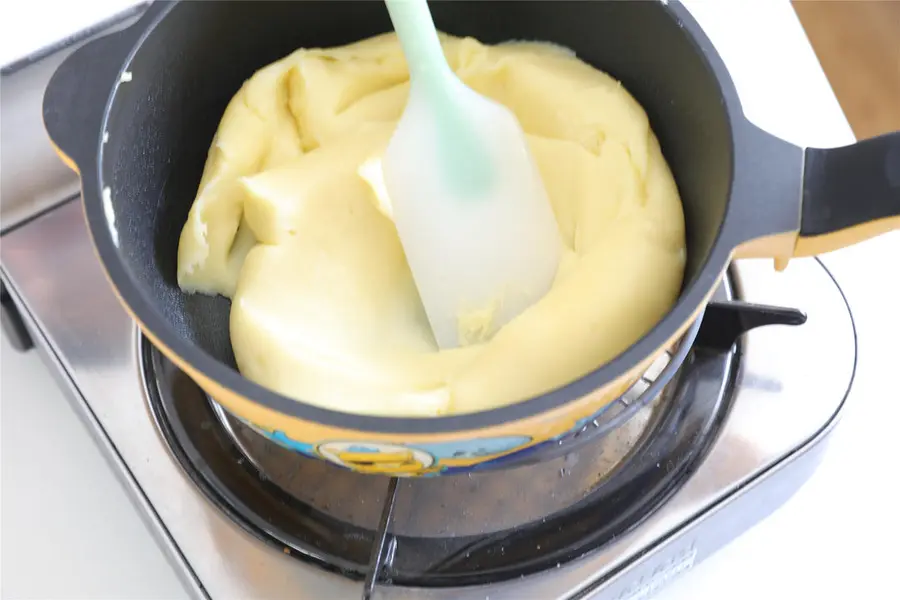
Finally, it forms a dough and stir-fry with a spatula until it is as delicate as pictured
-
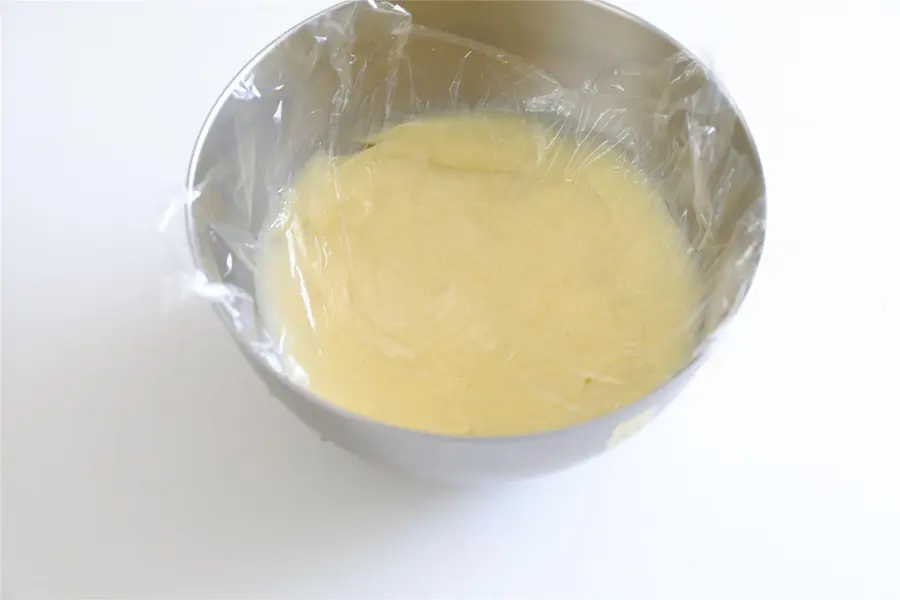
After serving, cover with plastic wrap and let it cool for later use.
-
#组装. Divide the baked
and cooled cheese filling into 35 grams per portion, roll it round and set aside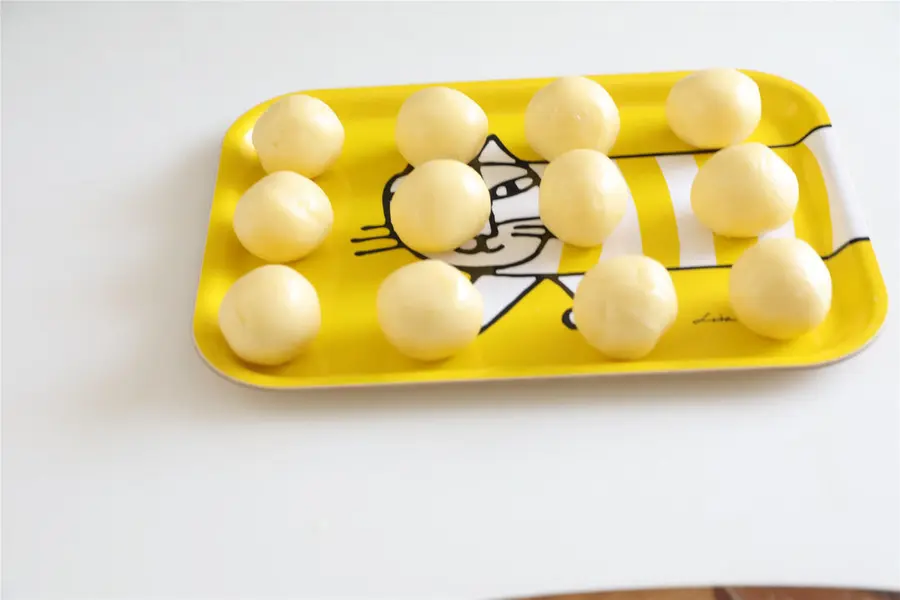
-
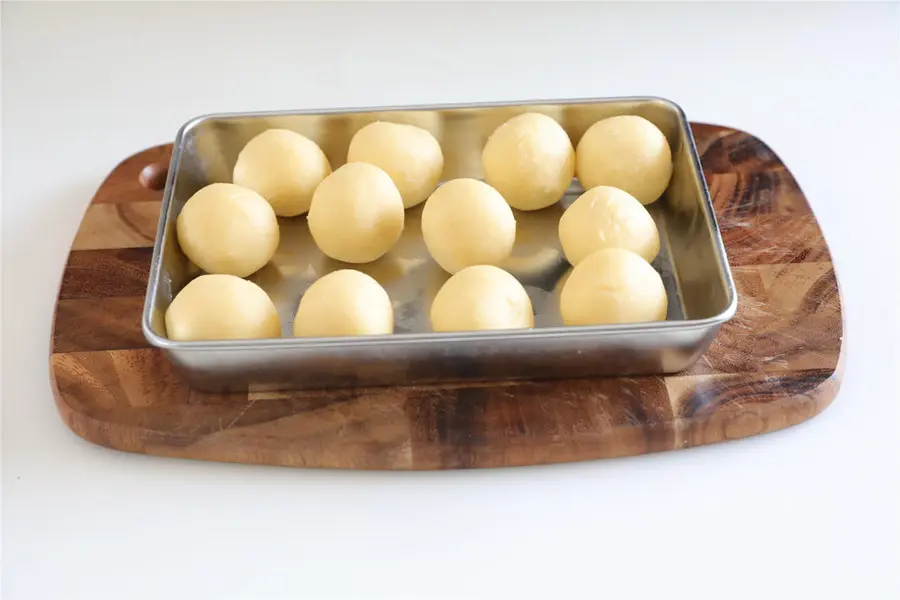
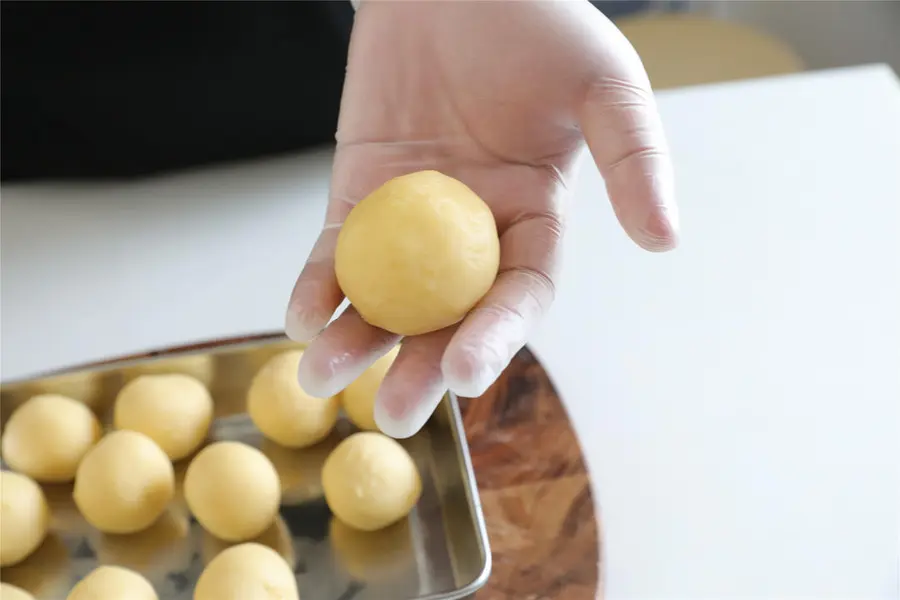
Refrigerate the loose crust and divide it into 35g/portions, roll it round and set aside
-
Press the crust into thin slices and thick in the middle and add the cheese filling
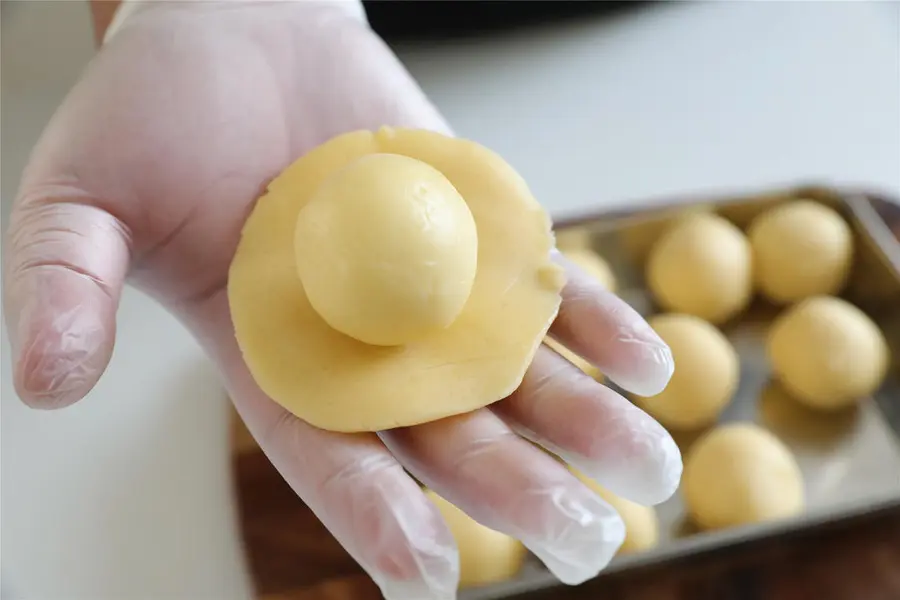
-
Hold down the filling with your right hand and slowly push it up with your left hand
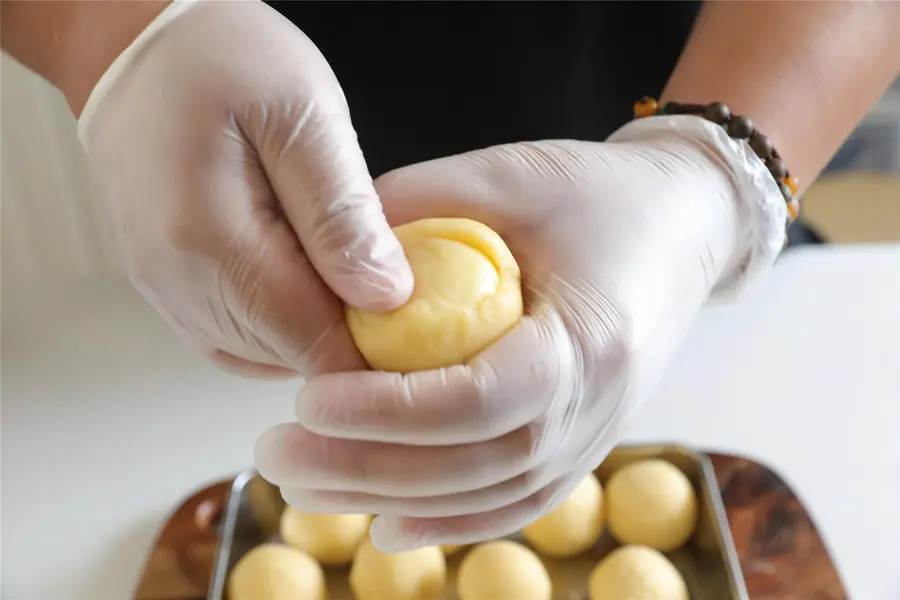
-
until completely closed.
-
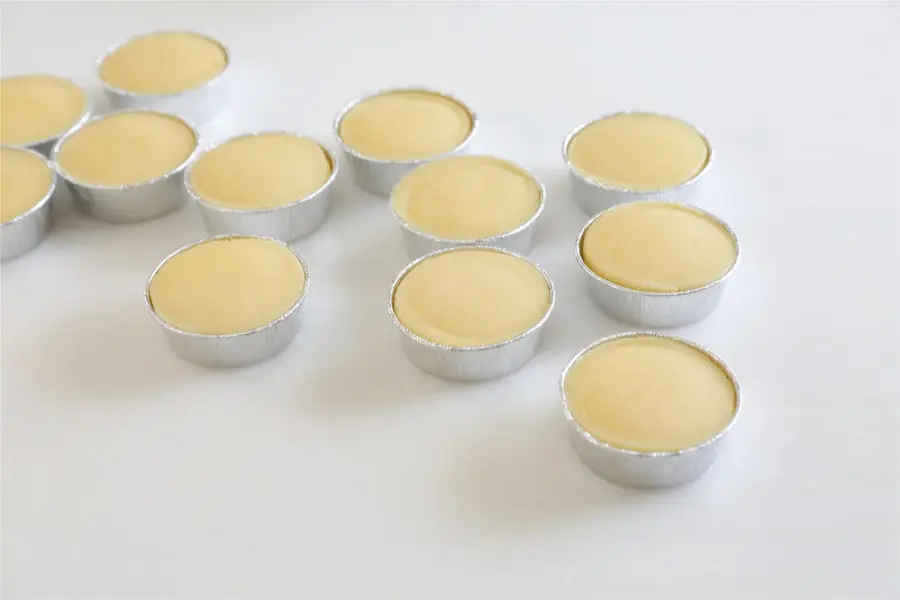
Make it in turn, put it in a tin foil cup, and flatten it with the palm of your hand.
Remarks: The capacity of the tin foil cup is about 60ml, the upper diameter is 65mm, the bottom diameter is 55mm, and the height is 23mm.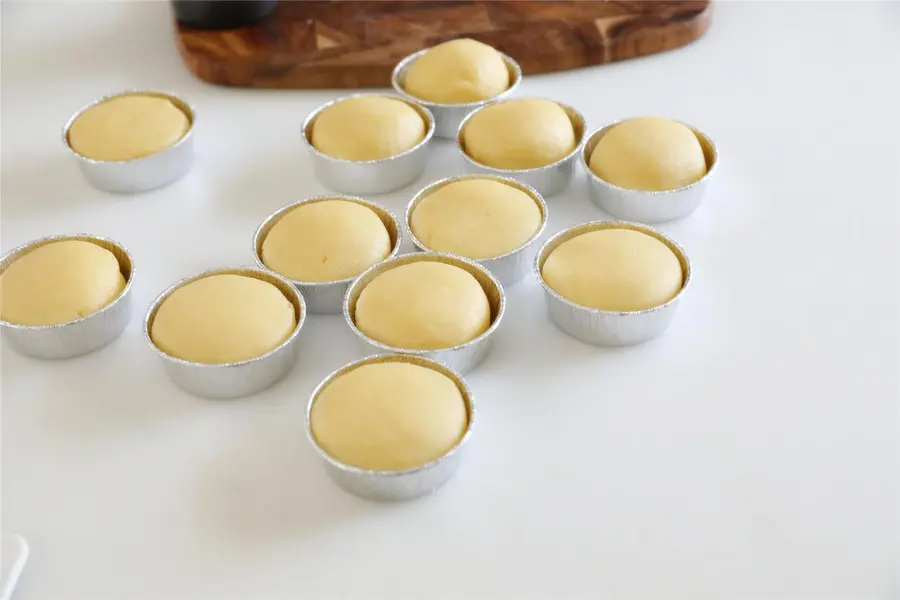
-
You can use gadgets to press it more compliantly
-
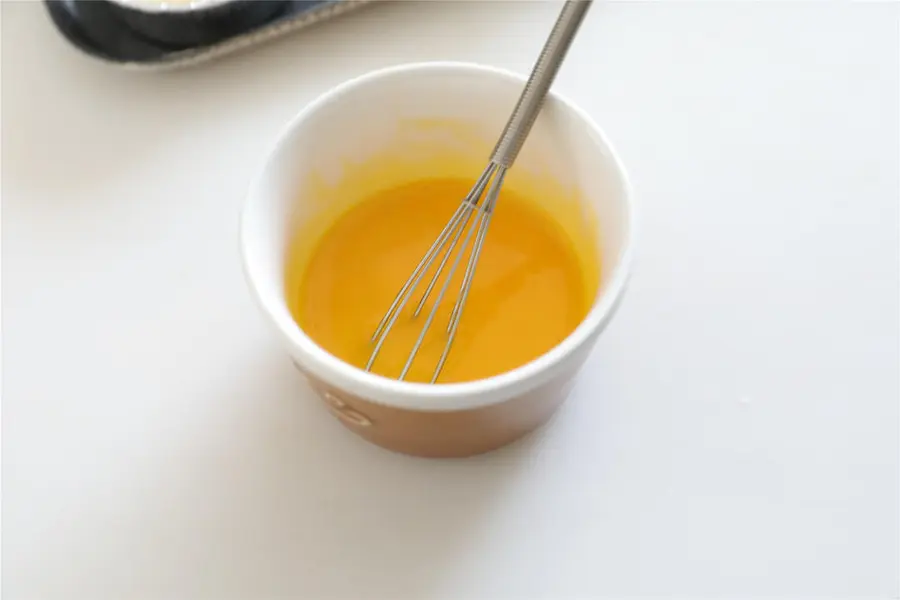
Egg yolk + whipping cream and stir to combine
-
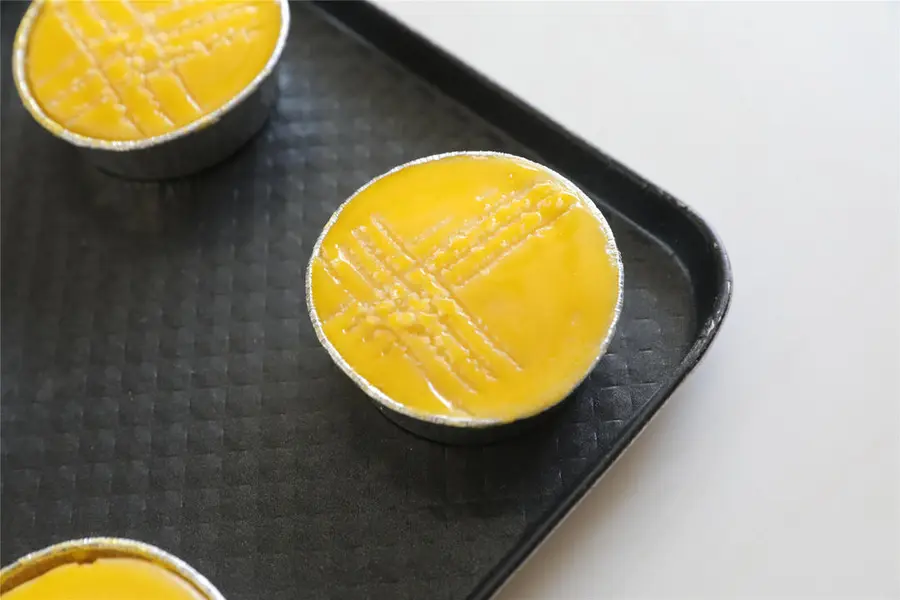
Brush the surface with egg yolk twice, and prick several holes with a needle or a thin toothpick on the surface and bottom

-
The surface is marked with a fork, how to draw everyone at will, you can also directly light, out of the oven to print your favorite brand
-
Put in the oven, bake at 180 degrees and bake for about 23 minutes.
Please place the household oven in the middle layer at the same temperature as above.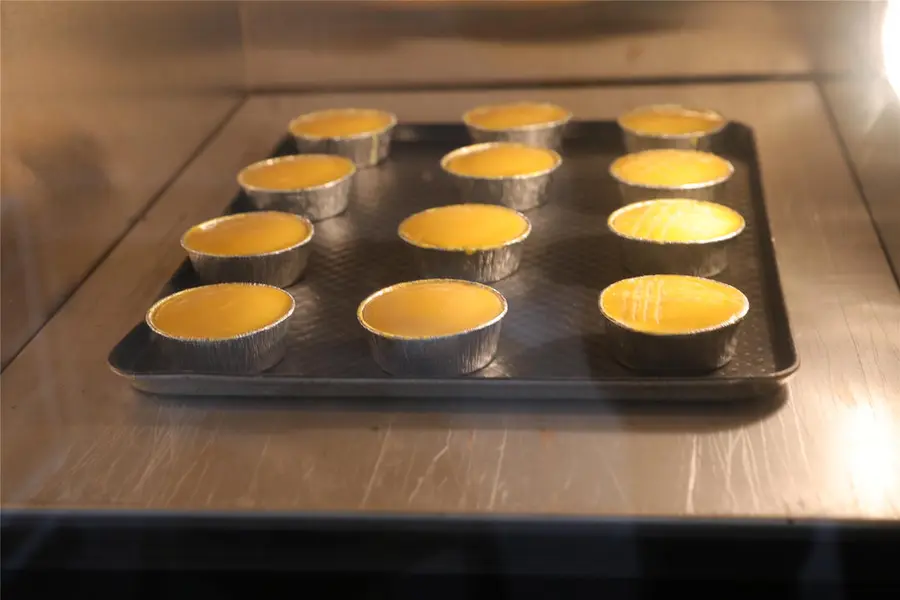
-
When it comes out of the oven and cools, the brand decoration does not need to be cooled, and it can be decorated directly.
Pack after cooling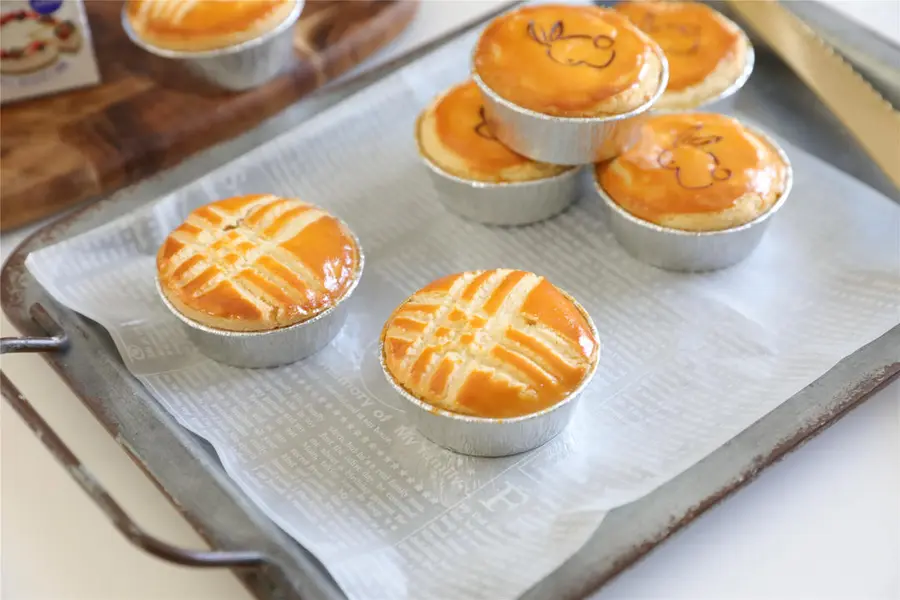
More

There is a full record of the nutritious breakfast for junior high school students in June
Valentine's Day makes a coincidence| 2 flavors
Sushi vinegar
![Two slices of [purple cabbage juice] teach you to mix up six different colors!](https://img.gochinarose.com/d33/cai/51940-3164_525x300.webp)
Two slices of [purple cabbage juice] teach you to mix up six different colors!

Colorful quinoa smoked chicken salad

Steamed eggs with tender and smooth minced meat! !️ Simple and delicious until take-off

The appearance is crispy and soft and glutinous, killing the octopus balls at the roadside stall in seconds
Huge delicious apple orange tea

Fresh meat dumplings that can be wrapped in Xiaobai

Learn that every day is Valentine's Day

Master Recipe|Roasted pig's trotters in sauce

Rice home cooking|Braised chicken thigh meat aka